How to configure your Ledger Nano S
Set up your personal Ledger Nano S to sign with Woleet ID Ledger Edition
You need to follow instructions below to configure your Ledger Nano S so as to be able to sign with Woleet.ID Ledger Edition. This configuration is mainly about configuring the security of your Ledger and of the identity you will use to sign with Woleet.ID application. Please do this carefully and be sure to have enough time to go through the entire procedure (about 15 to 20 minutes).
1. Install Ledger Live on your computer
Go to Ledger Live and download it for your computer
2. Get started
-
Start the Ledger Live application
-
Click Get started.
-
Initialize a new Ledger device, if you're using a device you've just purchased or
restore a Ledger device, if you want to restore a configuration using a 24-word recovery phrase you've previously saved.
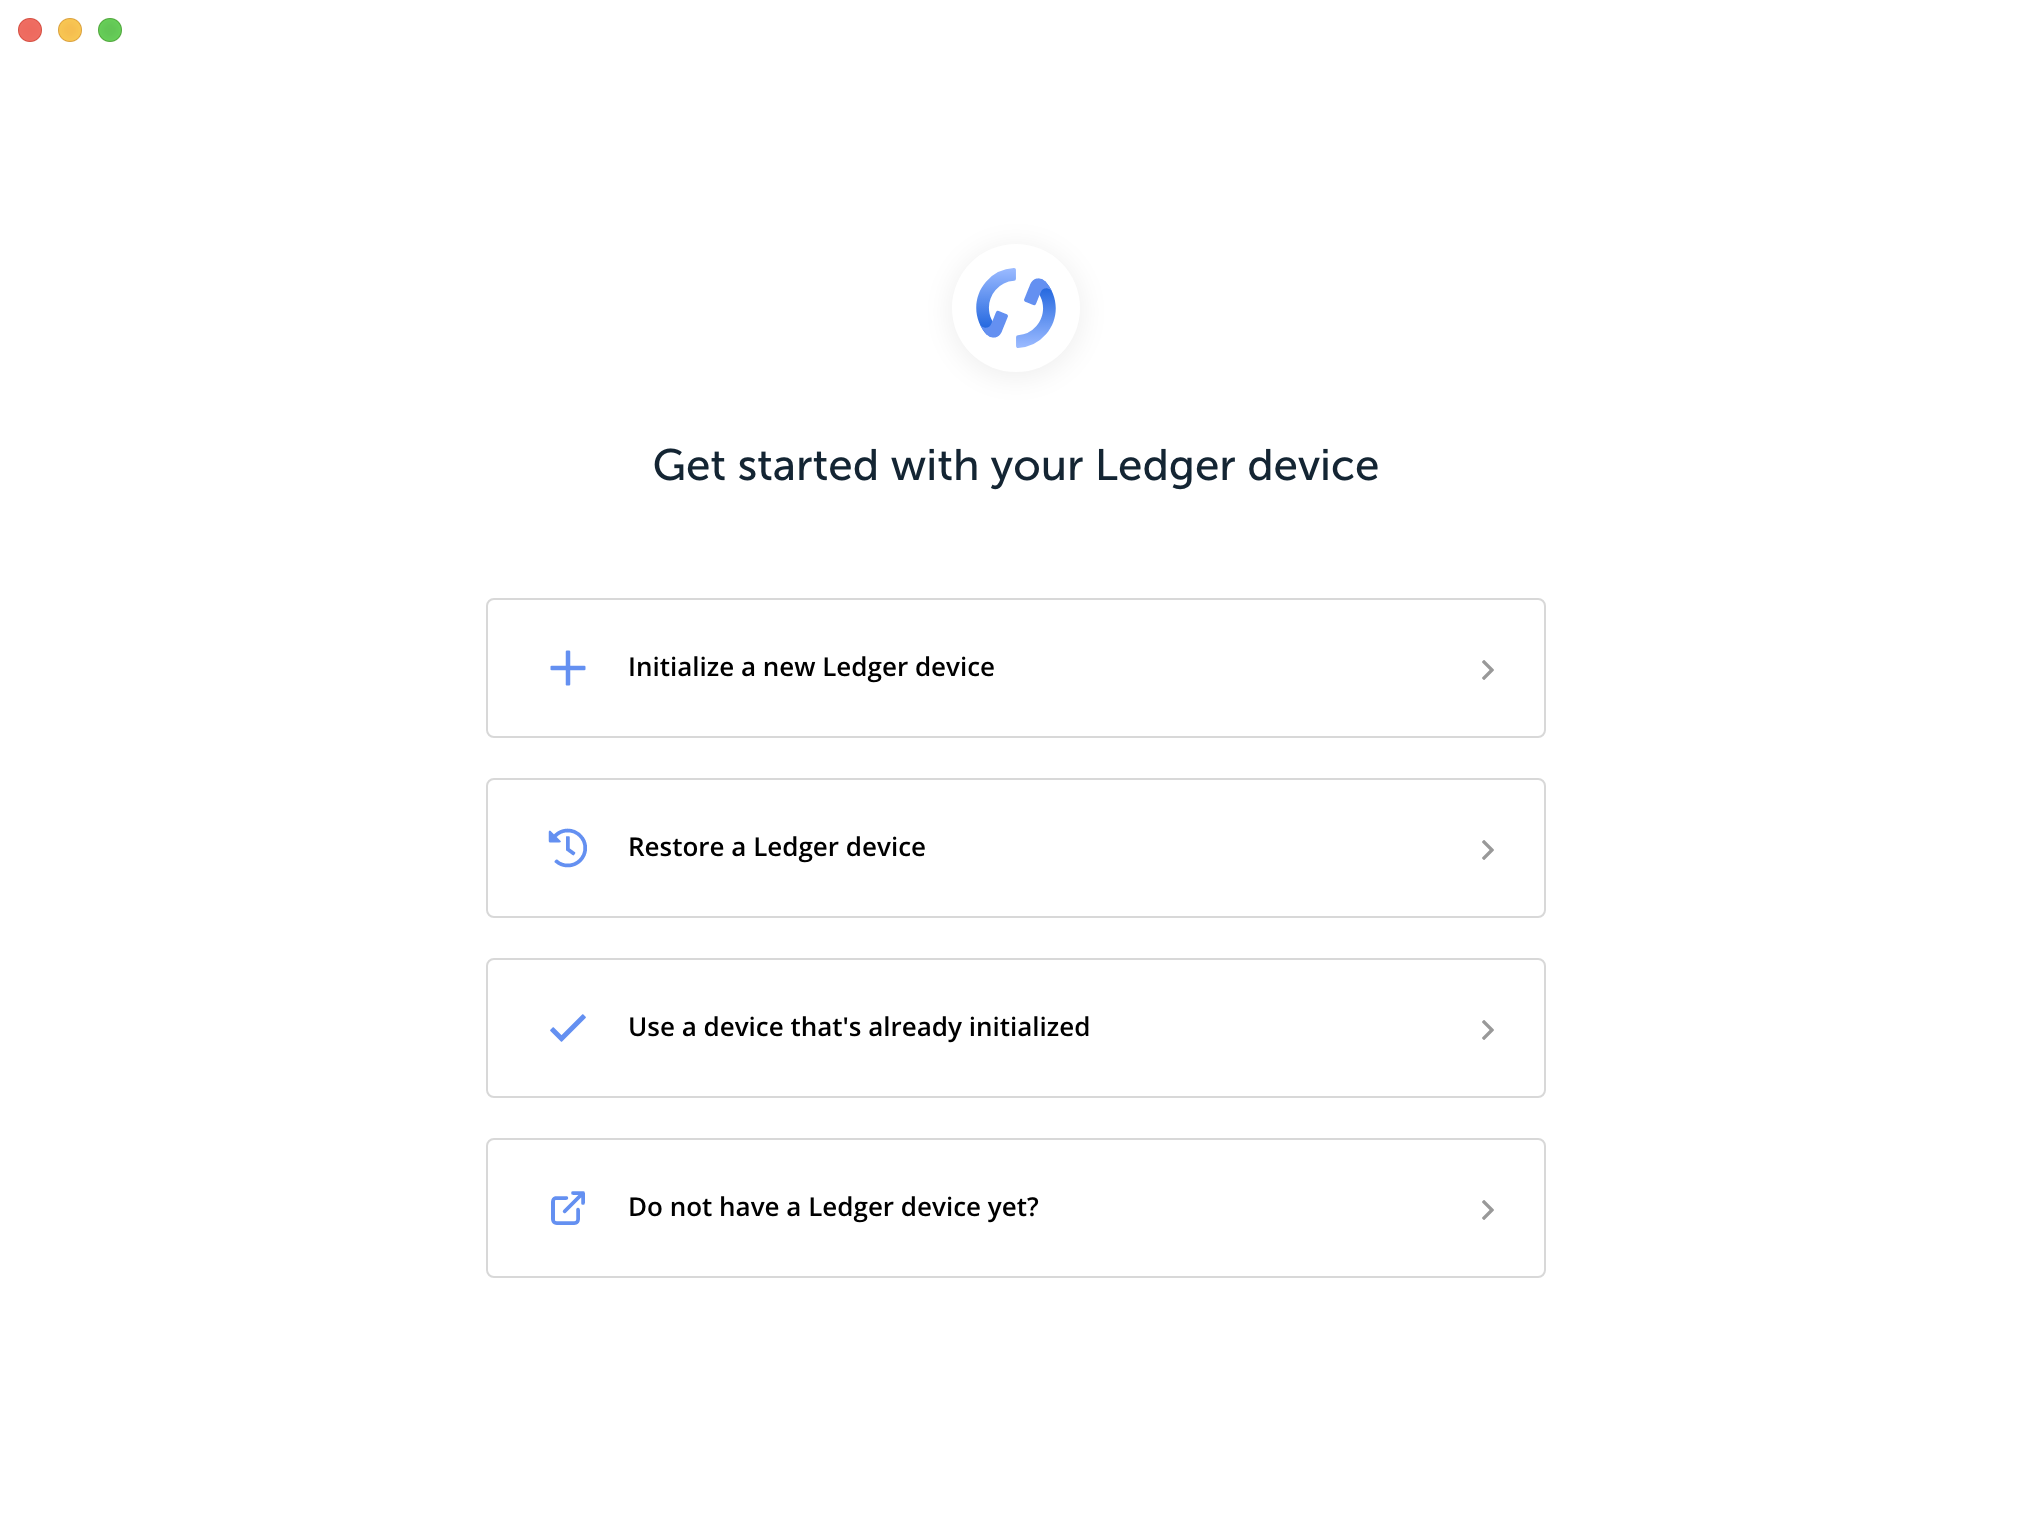
Initialize or restore your Ledger
- Select your device, then click Continue
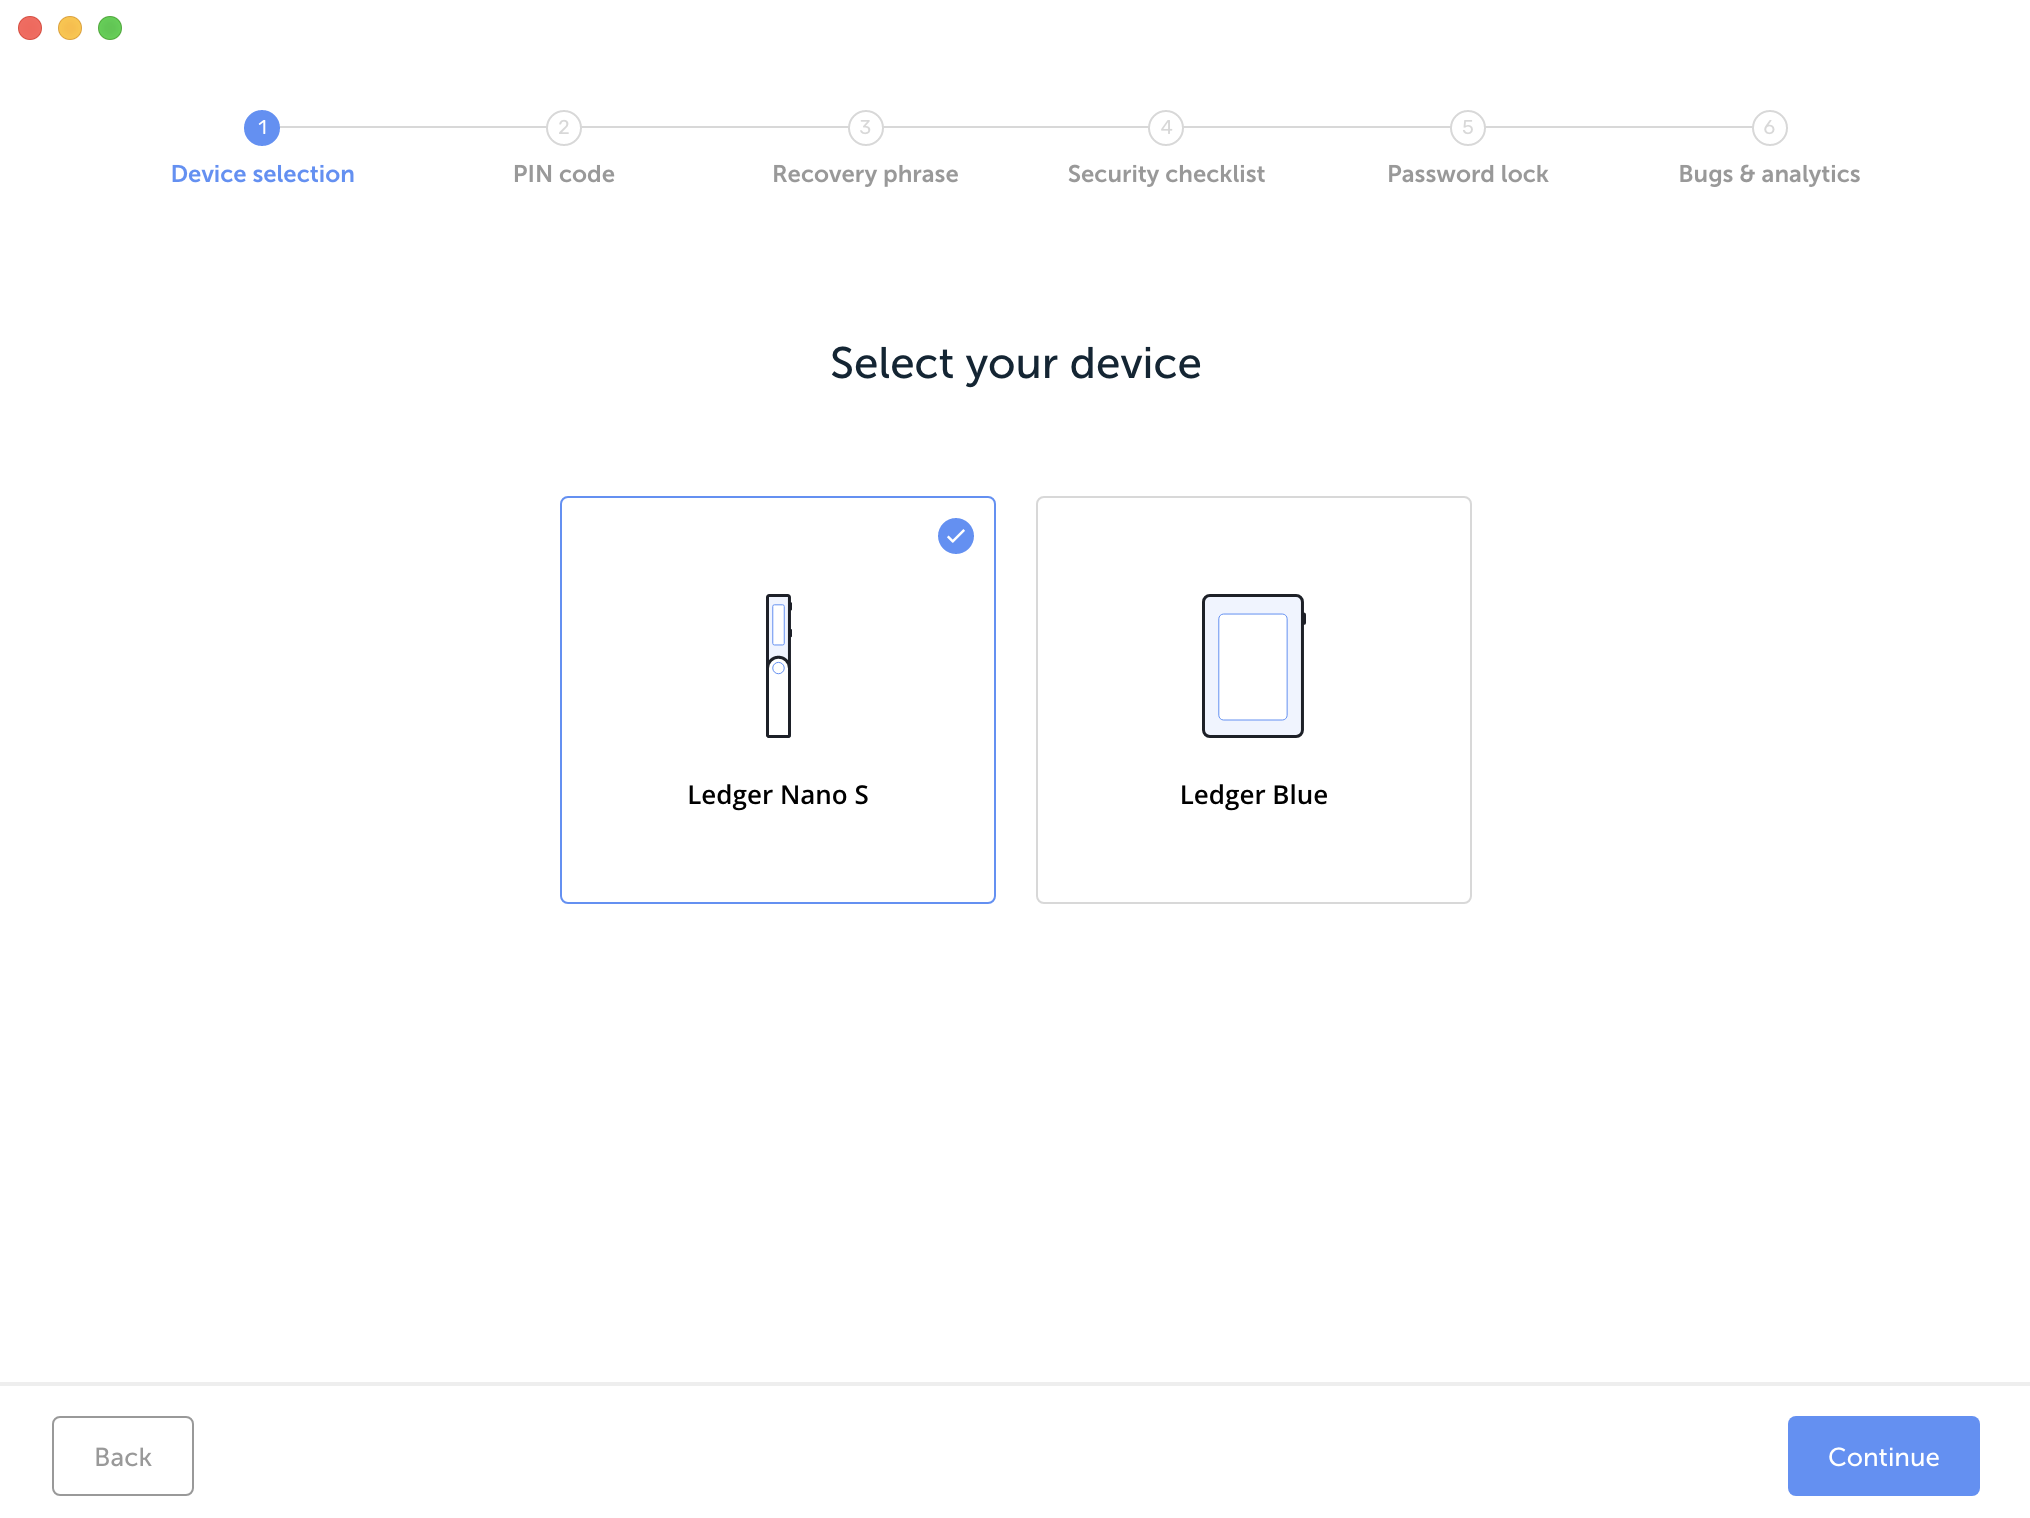
Choose your Ledger
3. Choose your PIN code
- First you'll choose a 4 to 8-digit PIN code that unlocks your device. Then you'll save or restore your 24-word recovery phrase. Your recovery phrase backs up the private keys generated on your device that manage your crypto assets. It can be used to recover your device in case you lose the PIN code or the device.
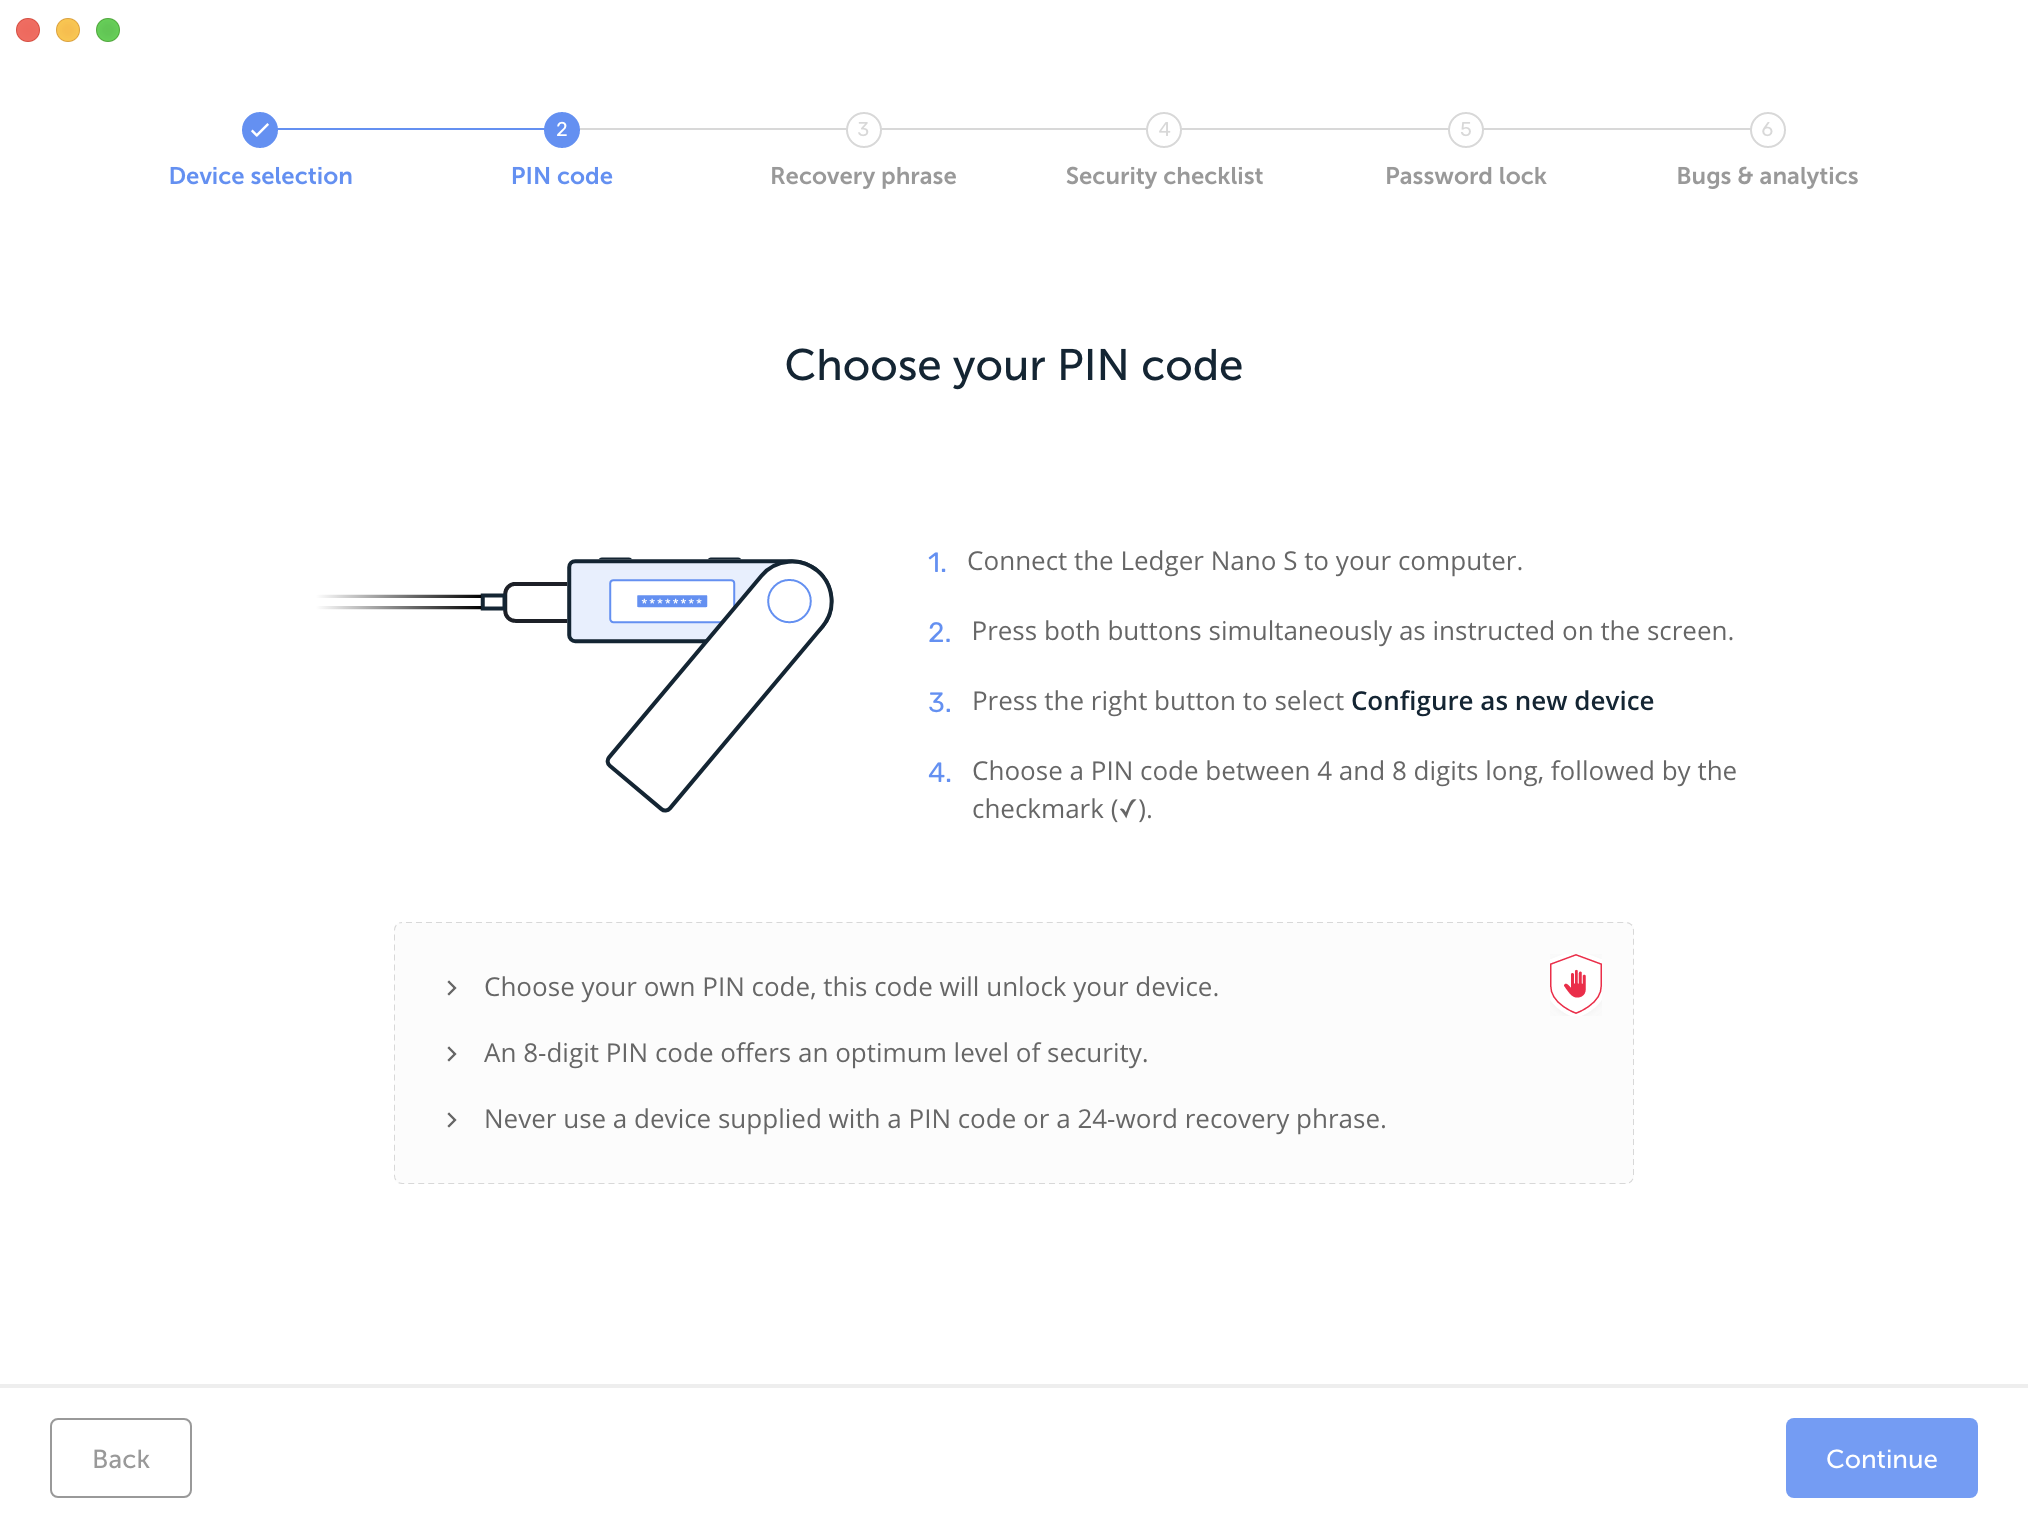
Choose a PIN code
-
To set your PIN follow instructions below:
-
Press both buttons when Choose a PIN is displayed on the device.
-
Press the right or left button to choose the first digit of your PIN code.
-
Press both buttons to select the digit.
-
Repeat the process until all digits of your PIN code are selected.
-
Select the check icon (✓) and press both buttons to confirm the PIN code.
-
Once done, click Continue.
4. Save your recovery phrase
Your 24-word recovery phrase will now be displayed word by word on the Ledger Nano S screen. Be careful, your recovery phrase will be displayed only once.
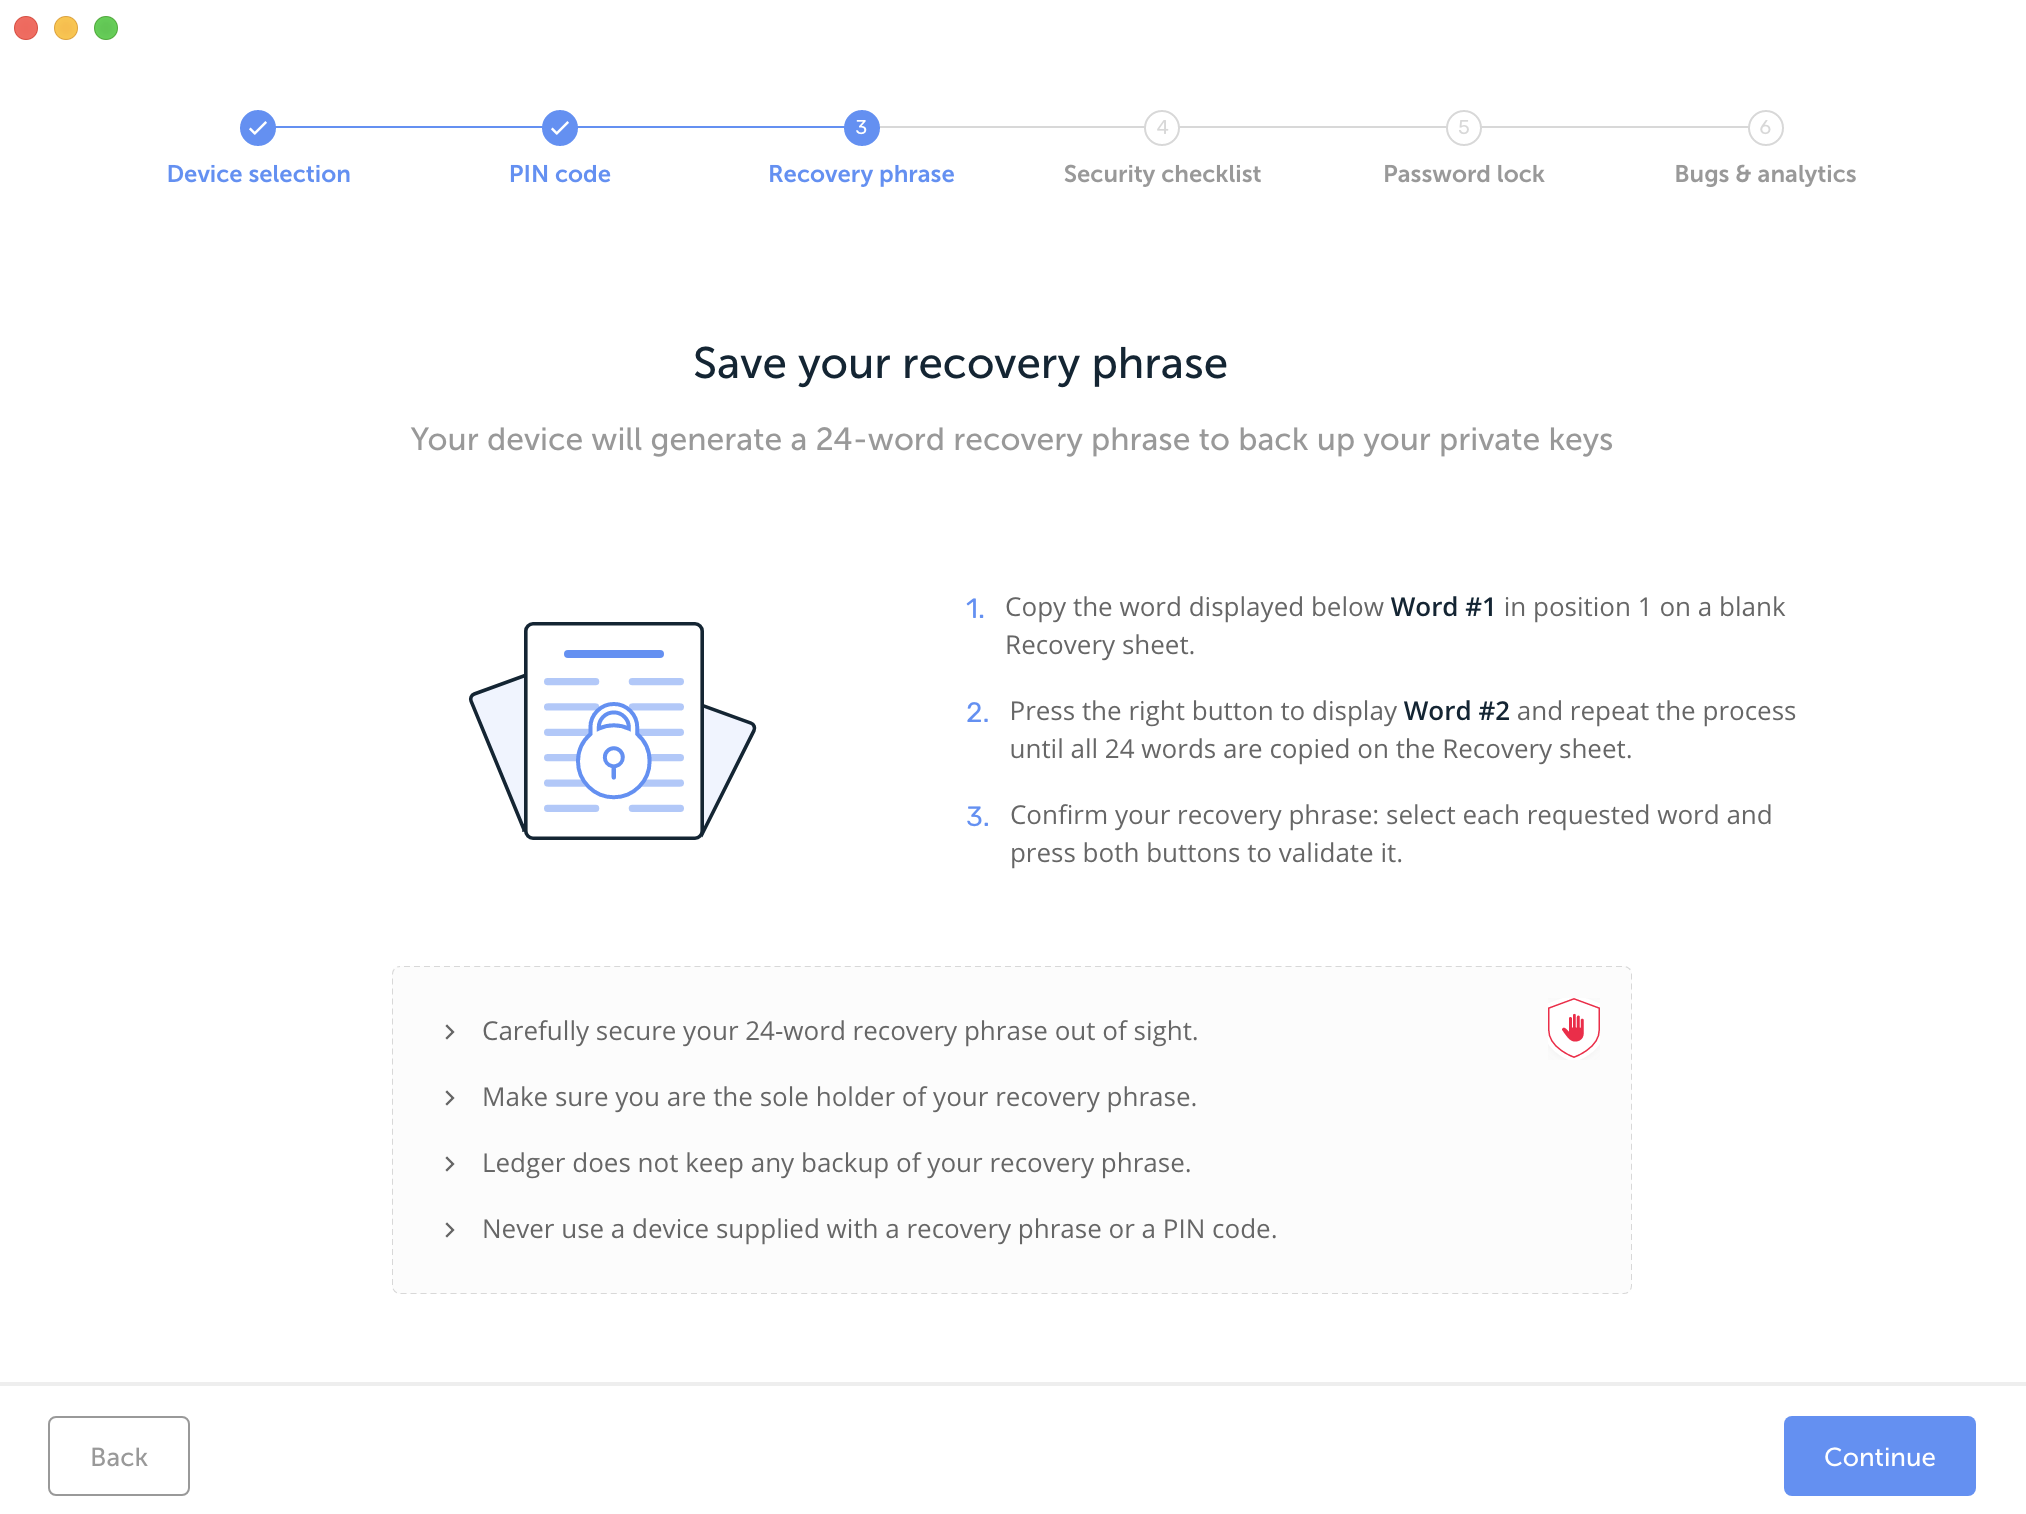
Save your recovery phrase
- Take the blank Recovery sheet supplied in the box.
- Write down the first word (Word #1) on the Recovery sheet. Verify that you have copied it correctly in position 1.
- Press the right button to move to the second word (Word #2). Write it in position 2 on the Recovery sheet. Verify that you've copied it correctly.
- Repeat the process until the twenty-fourth word (Word #24). Confirm your recovery phrase will be shown on the screen after word 24.
- Select the requested word by navigating with the left or right button. Validate the word by pressing both buttons. Repeat this step for each requested word.
- "Your device is now ready" is shown once you've successfully completed the initialization.
- Tip: Install the Recovery Check app to verify your recovery phrase again.
5. Security checklist
Complete the security checklist to verify you benefit from the optimal level of security.
- Answer the questions on-screen by clicking on Yes or No.
- Important: Contact Ledger if you've answered No to any question, or when in doubt.
- Click Check now, to verify your device is a genuine Ledger device. Only a genuine Ledger device can provide the cryptographic proof required to connect with Ledger’s secure server.
Note: This process might take a few moments. - Once done, click Continue.
6. Choose a password (optional)
Choose an optional password that unlocks the application to enhance your privacy. This functionality is particularly useful if you use a shared computer.
- Click Skip this step if you do not want to set a password.
- Otherwise, choose your password in the Password field.
- Enter your password again in the Confirm password field.
- Then click Continue.
7. Bug reports & analytics
Besides mandatory technical data, you can choose which anonymous data to share with Ledger to help improve the quality of our products and services. By opting in, Ledger will automatically collect this data. You can decide to opt out at any time from the Settings page.
That's it your Ledger is ready to use ! 🎉
You will find all documentation about Ledger corporation here.
8. Install Woleet ID Ledger Edition
Updated over 6 years ago
