How to install ProofKeeper?
Installation
- Go to Github to download the installation file of ProofKeeper, corresponding to your operating system.
- Double-click on the installation file to install the application on your desktop.
Note: on macOS, you will get an alert as our application does not come from an identified Apple developer. To allow the use of this application, please follow the Apple procedure.
Once installed, you can follow the configuration wizard:
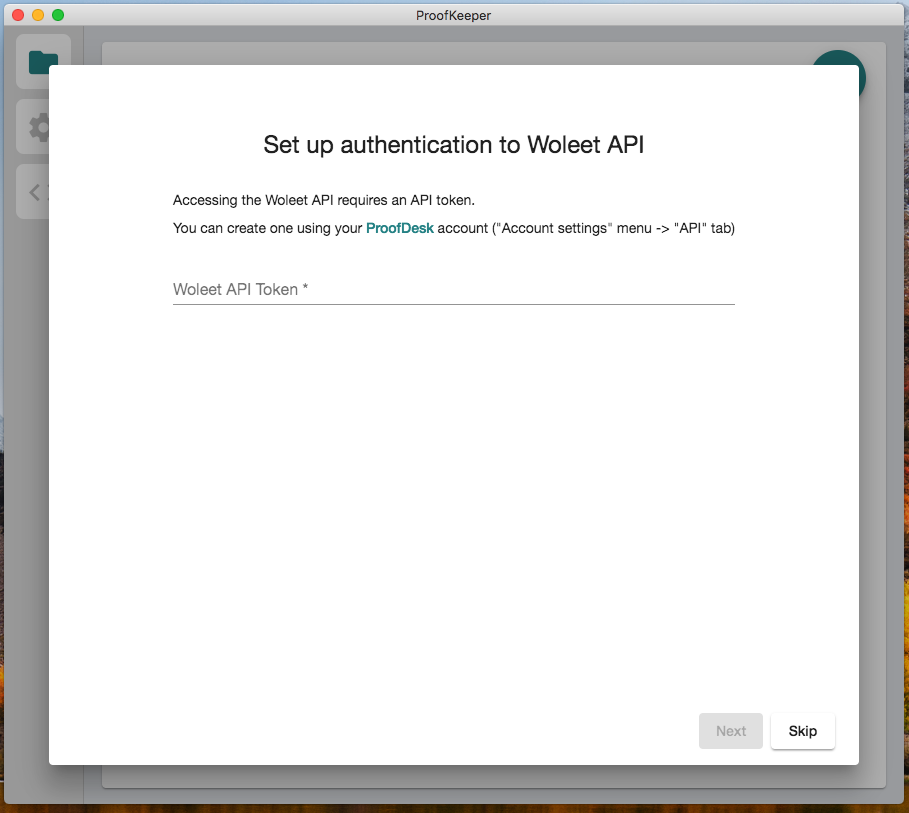
Set up authentication to Woleet API
You first need to fill-in your API token so as to allow communication between ProofKeeper and the Woleet API.
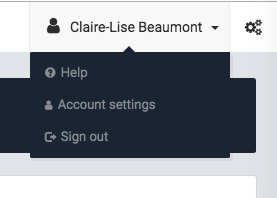
You can find your API token in ProofDesk application. This is to be found in your account settings on the top right hand menu.
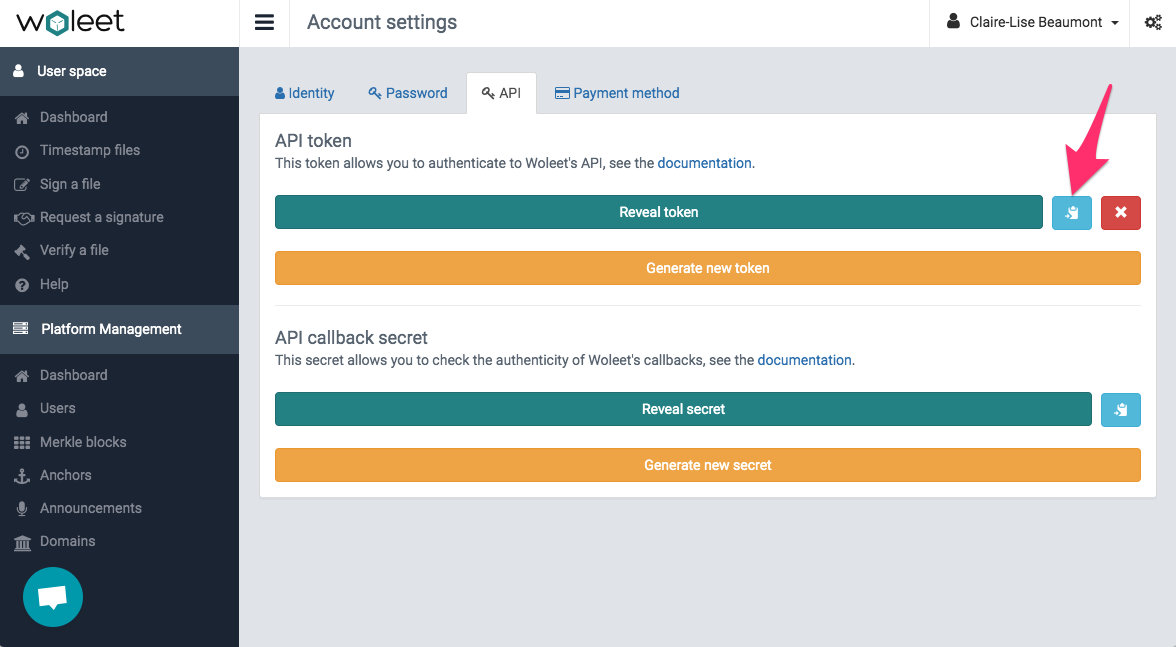
You need to click on the blue button "copy to clipboard" so as to be able to paste it in the ProofKeeper configuration wizard.
Set up identities for signature
If you want to electronically sign your files, you can configure at this moment the signature key, attached to an identity, that will be used.
Pre-requisite: at least one signature key must have been registered in Woleet.ID Server.
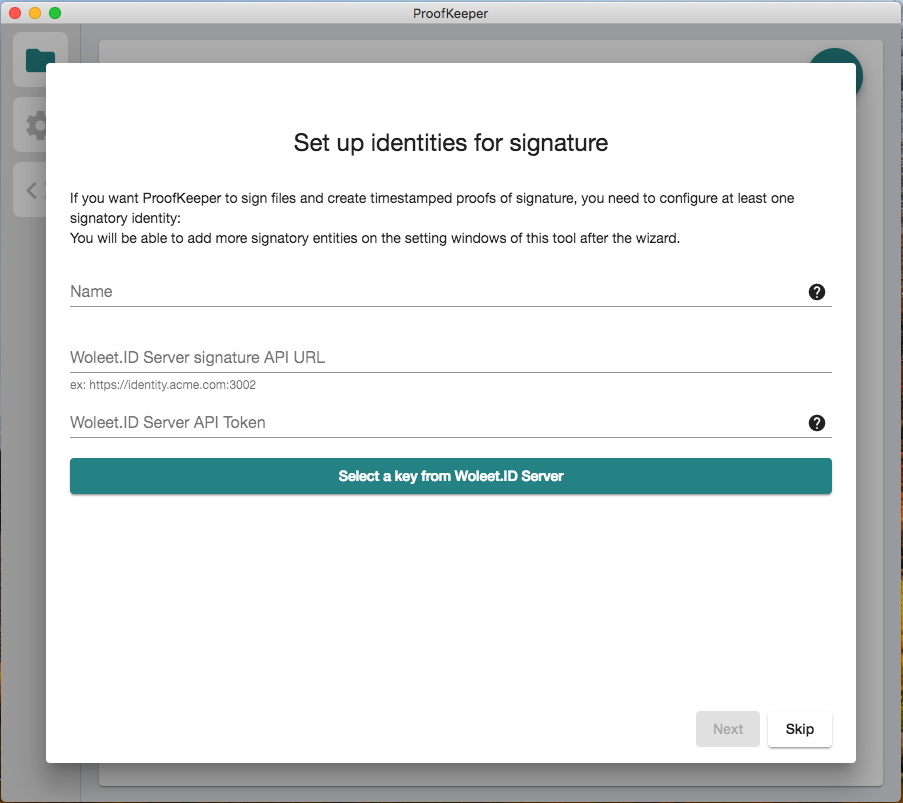
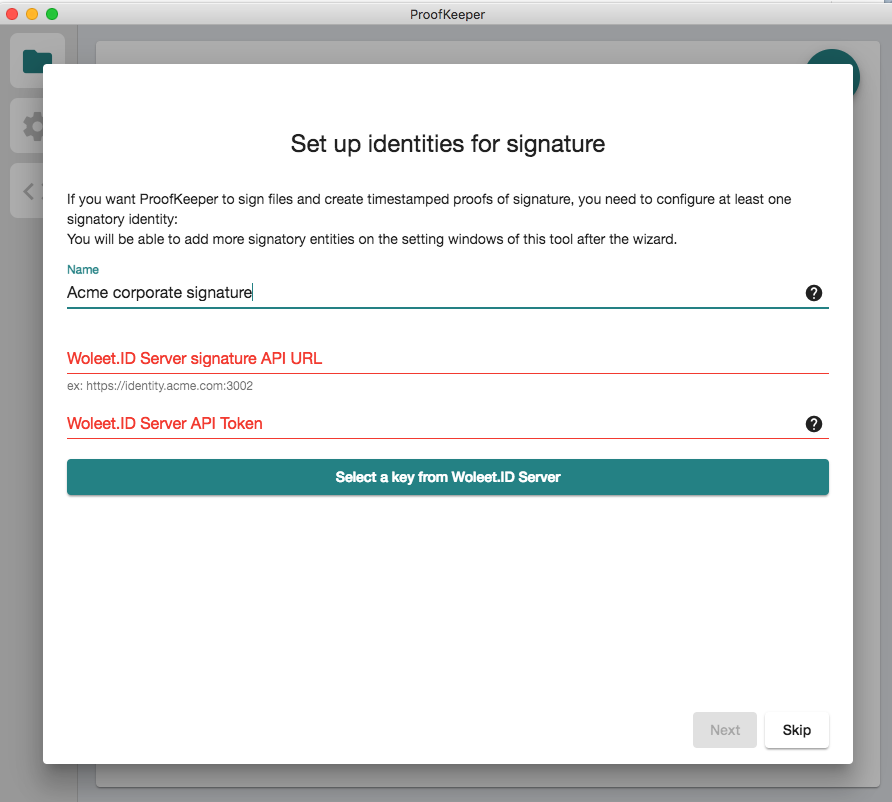
You can give a name to your signature key, for example "Acme corporate signature" if this signature engages a legal person.
You need to fill-in the URL of Woleet.ID Server and the API token allowing ProofKeeper to communicate with it.
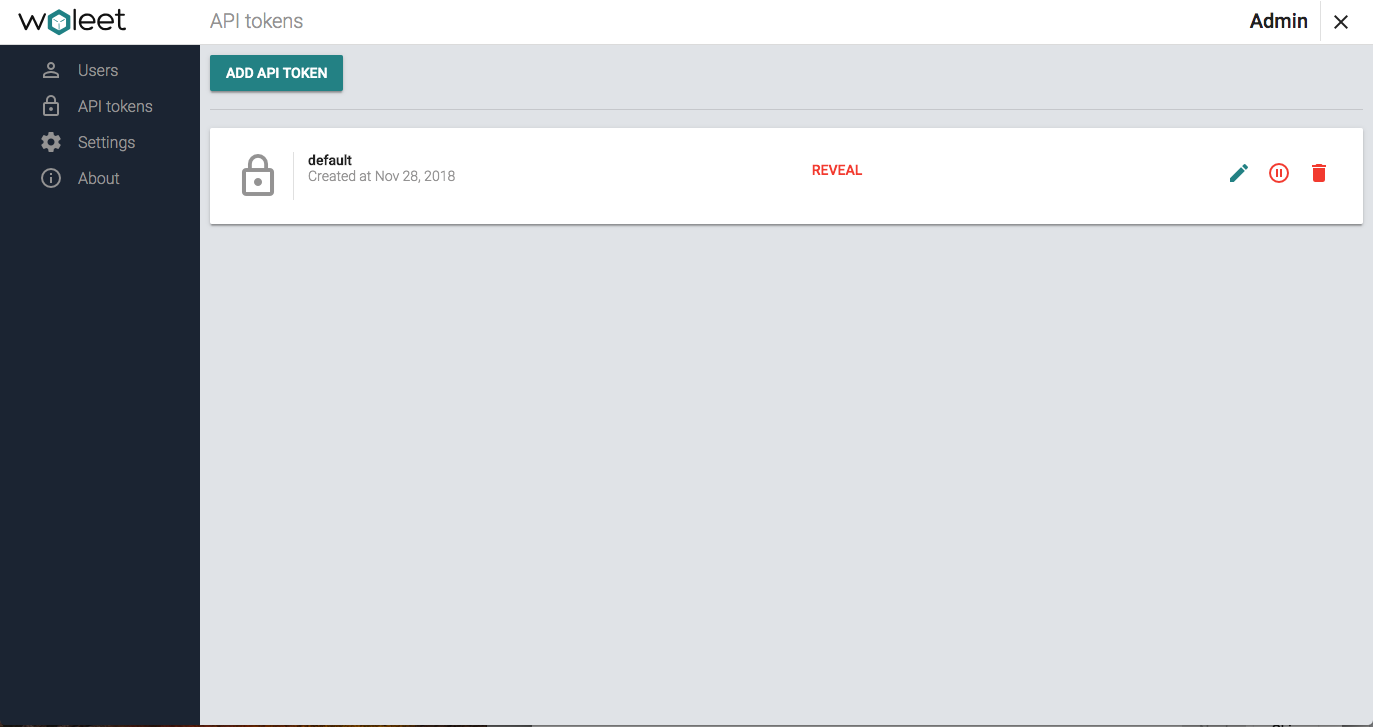
The API token can be found via the administration interface of Woleet.ID Server, in the menu "API tokens".
Once you filled-in the URL and API token of Woleet.ID Server, you can select the signature key via a drop-down list.
You have now finished the configuration phase!

Updated over 4 years ago
