How to configure the folders to timestamp and sign
ProofKeeper makes the timestamping and signature of the content of a folder fully automatic.
For this, you need to configure which folders you want to timestamp or sign.
Timestamping the content of a folder
Within ProofKeeper, you have two tabs, one for Timestamping and one for Signature. Be careful to be placed in the right tab.
Then click on the plus to chose a folder on which you want to make timestamping.
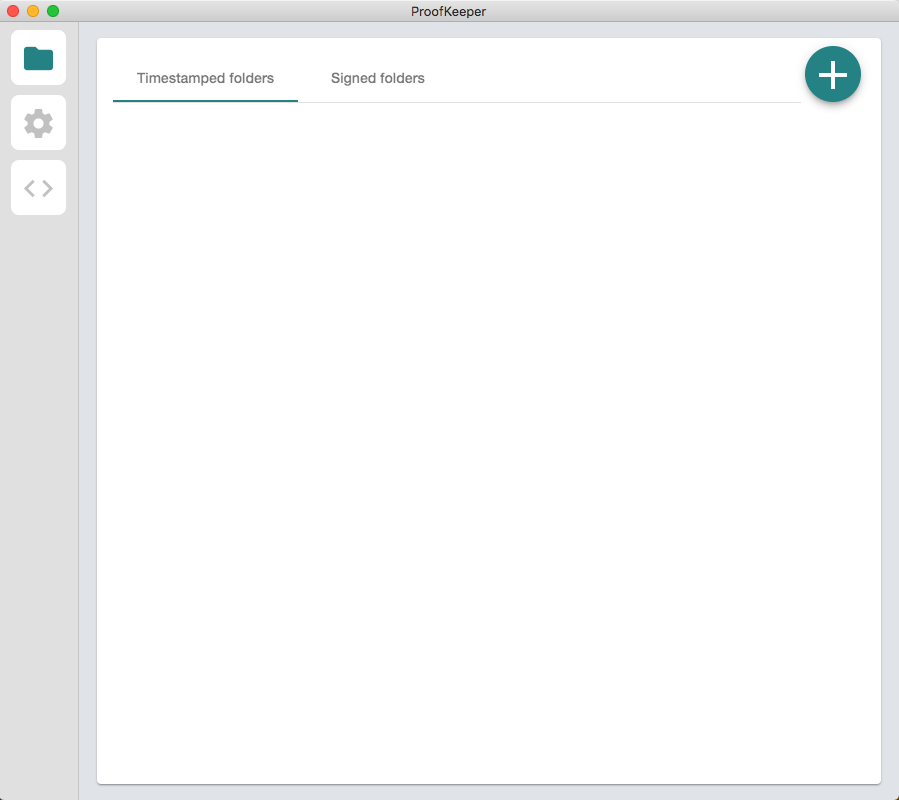
Click on "Choose folder" on the right to open you file explorer and select the right folder.
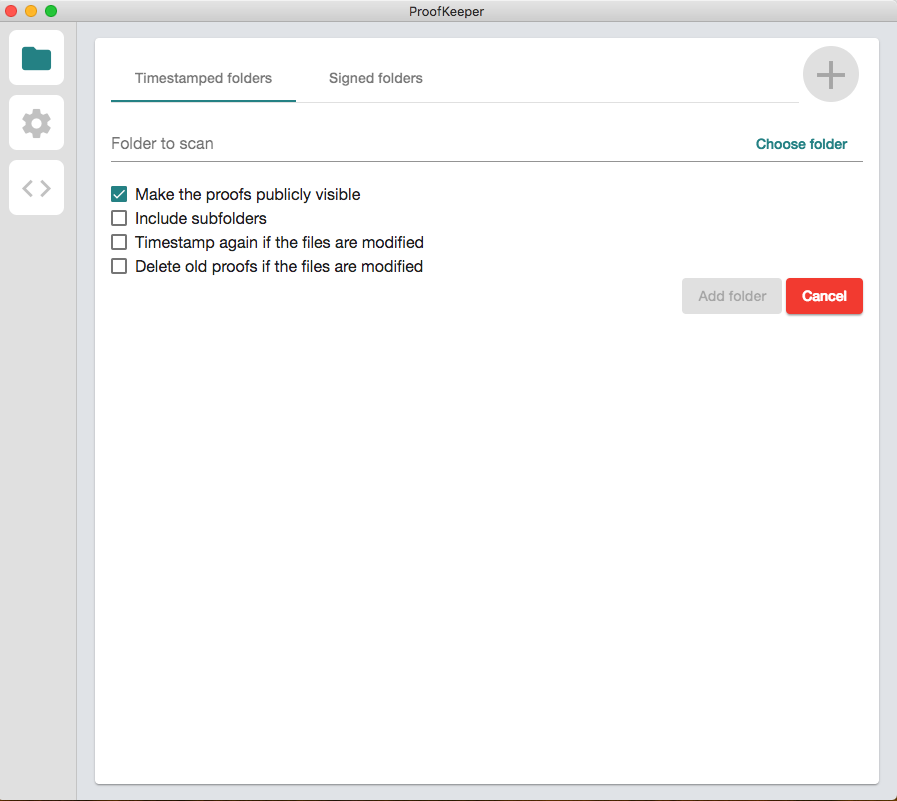
Then check your options and click on the button "Add folder" to complete configuration.
Options are the following:
- Make the proofs publicly visible. See About public and private anchors for more info.
- Include subfolders.
- Timestamp again if the files are modified.
- Delete old proofs if the files are modified.
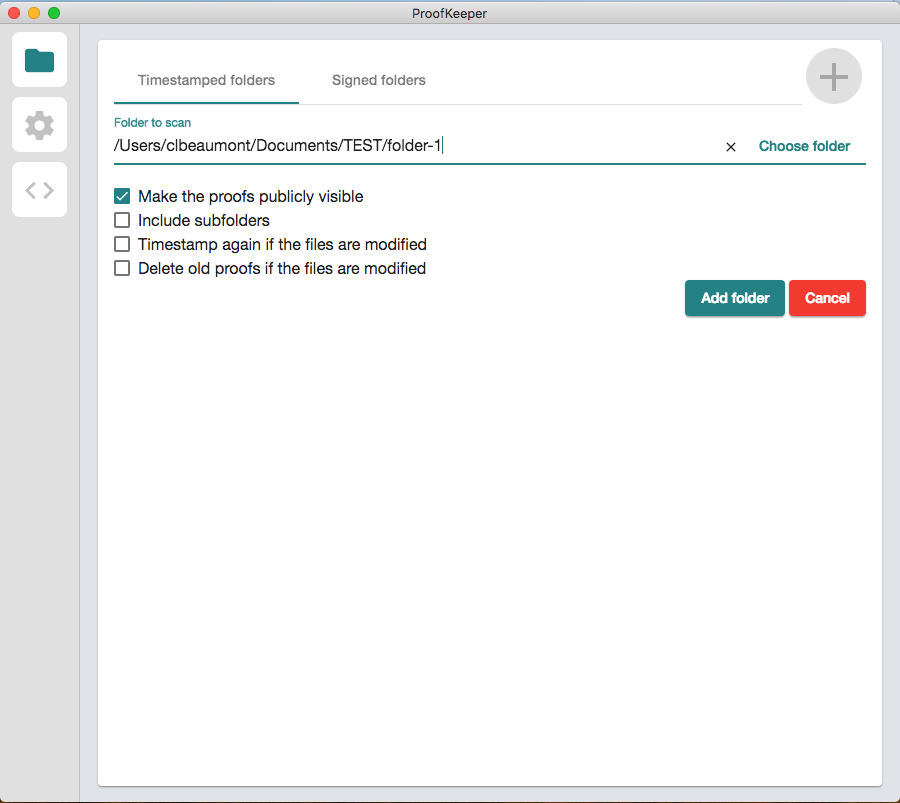
You are all set ! All the files of this folder will be automatically and seamlessly timestamped. The related proof files (extension .json) will be placed in the same folder. Don't close the ProofKeeper application, or timestamping will stop. But no worry, timestamping will automatically start again once you re-open the application.
Electronically sign the content of a folder
Verify you are in the right tab "Signed folders" and click on the plus button on the top right-hand side.
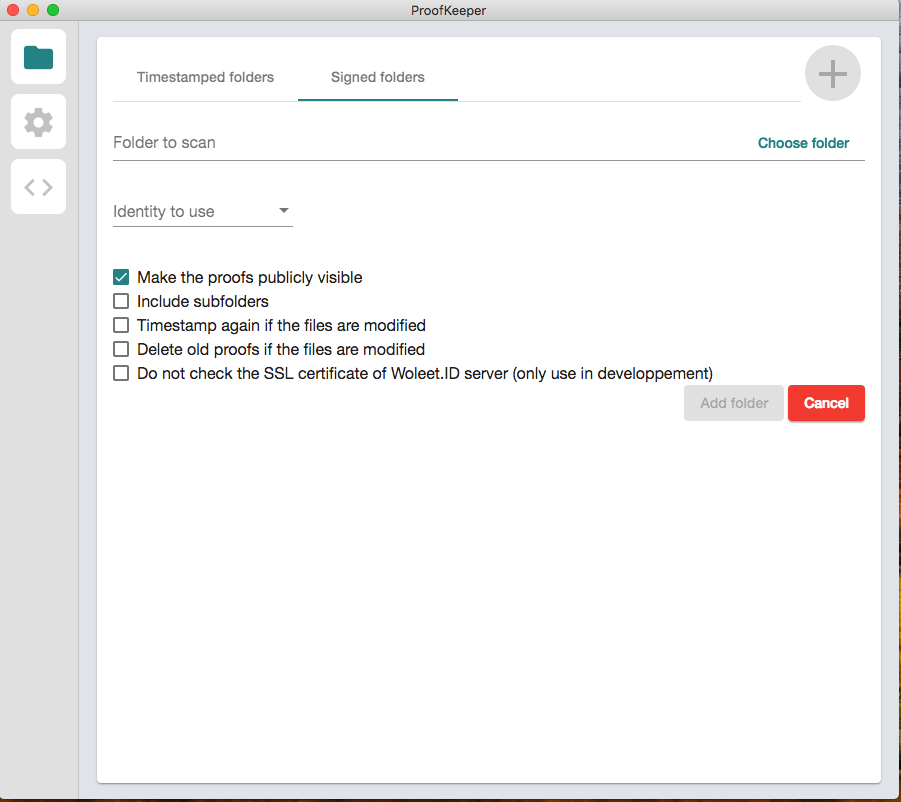
Click on "Choose folder" on the right to open you file explorer and select the right folder.
Then check your options and click on the button "Add folder" to complete configuration.
Options are the following:
- Make the proofs publicly visible. See About public and private anchors for more info.
- Include subfolders.
- Timestamp again if the files are modified.
- Delete old proofs if the files are modified.
- Do not check the SSL certificate of Woleet.ID Server (only use in development). This option must not be used except for test purposes, otherwise you would seriously downgrade the service security.
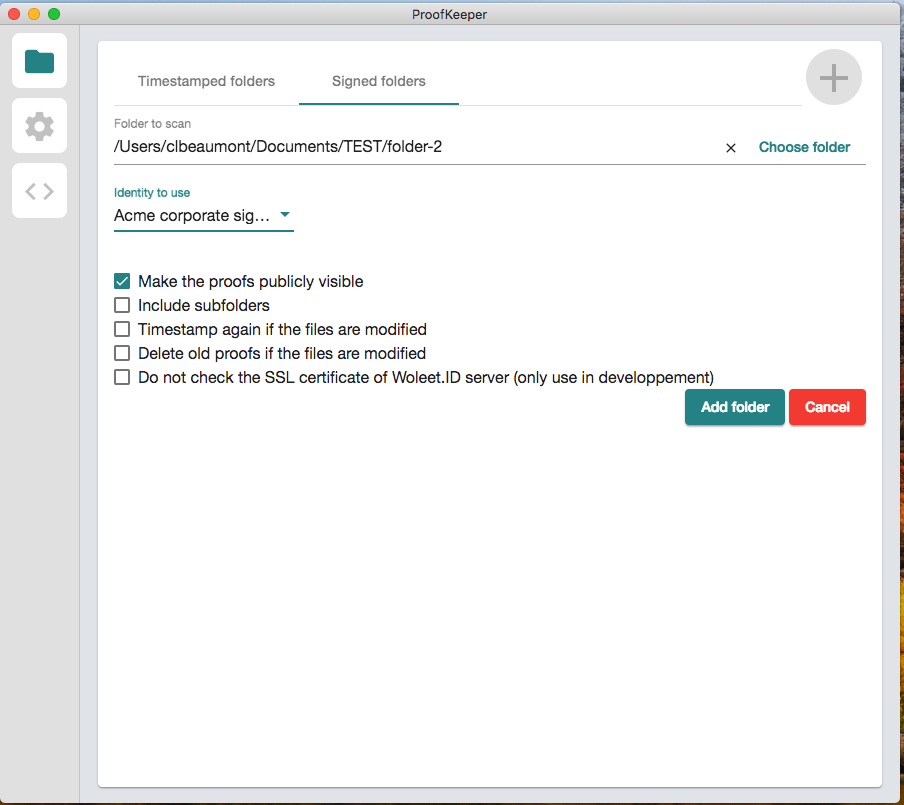
You are all set ! All the files of this folder will be automatically and seamlessly signed. The related signature proof files (extension .json) will be placed in the same folder. Don't close the ProofKeeper application, or signature will stop. But no worry, signature will automatically start again once you re-open the application.
Vizualize configured folders
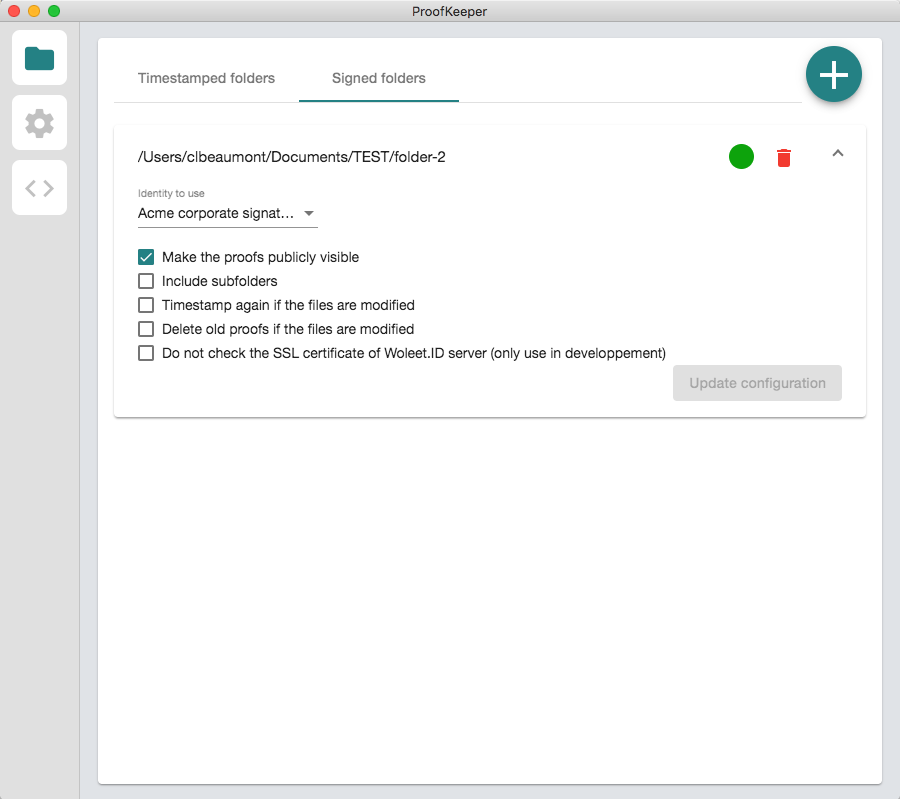
At any time, you can see in ProofKeeper which folders are configured, either for timestamping, or for electronic signature.
The coloured dot allows you to supervise the timestamping or signature process:
- A green dot indicates the process runs correctly.
- An orange dot indicates that the proofs creation is in progress.
- A red dot indicates there was an error.
Please contact your administrator to investigate, with the help of error logs, as displayed in the log section (third item in the left-hand menu).
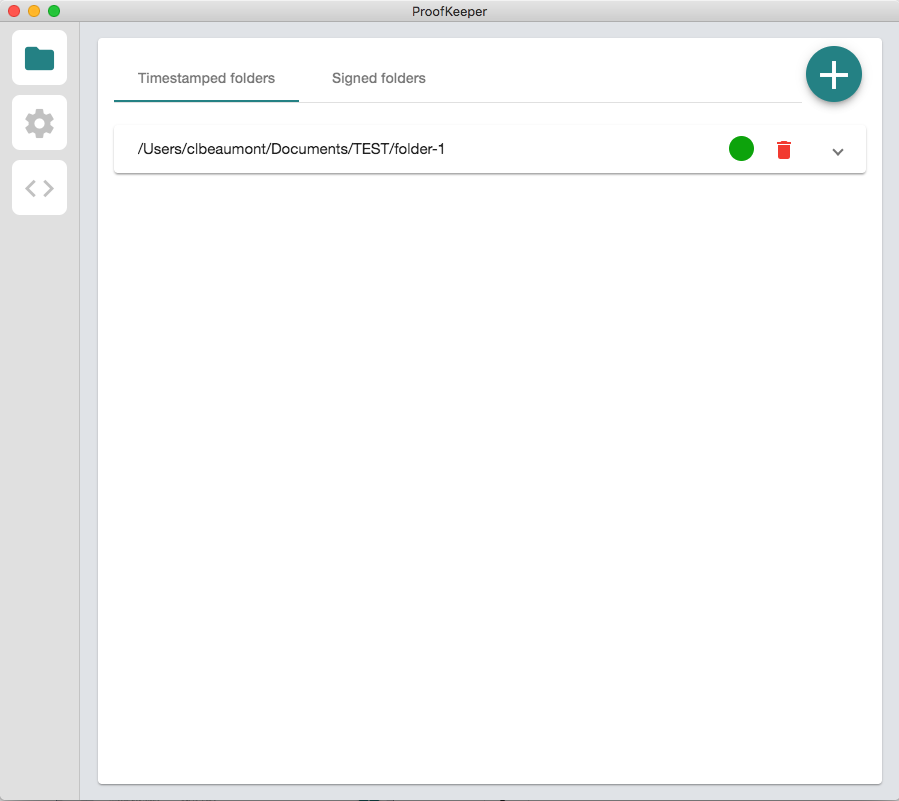
You can still modify the configuration, or remove a folder from the timestamping or signature process.
Updated over 6 years ago
